How to Add Images to Microsoft Word on Your Phone
How to Add Images to Microsoft Word on Your Phone
Whether it's an infographic for a report or a photo to spice up an essay, images allow you to illustrate your points and make your documents more eye-catching.
However, if you're using Word on your mobile phone, it might not be instantly obvious how to insert photos. The good news is that the process is pretty straightforward. Here's how to go about it.
How to Add Images on Microsoft Word on Mobile
Microsoft Word on mobile lets you insert images from your gallery or take one with your camera. Additionally, you can scan your documents with Word to convert them into text.
Open the Word app and open the document you want to add an image to. Make sure Word has permission to access your phone's storage or camera, and follow the steps below:
- Tap where you want the image to be inserted in the document.
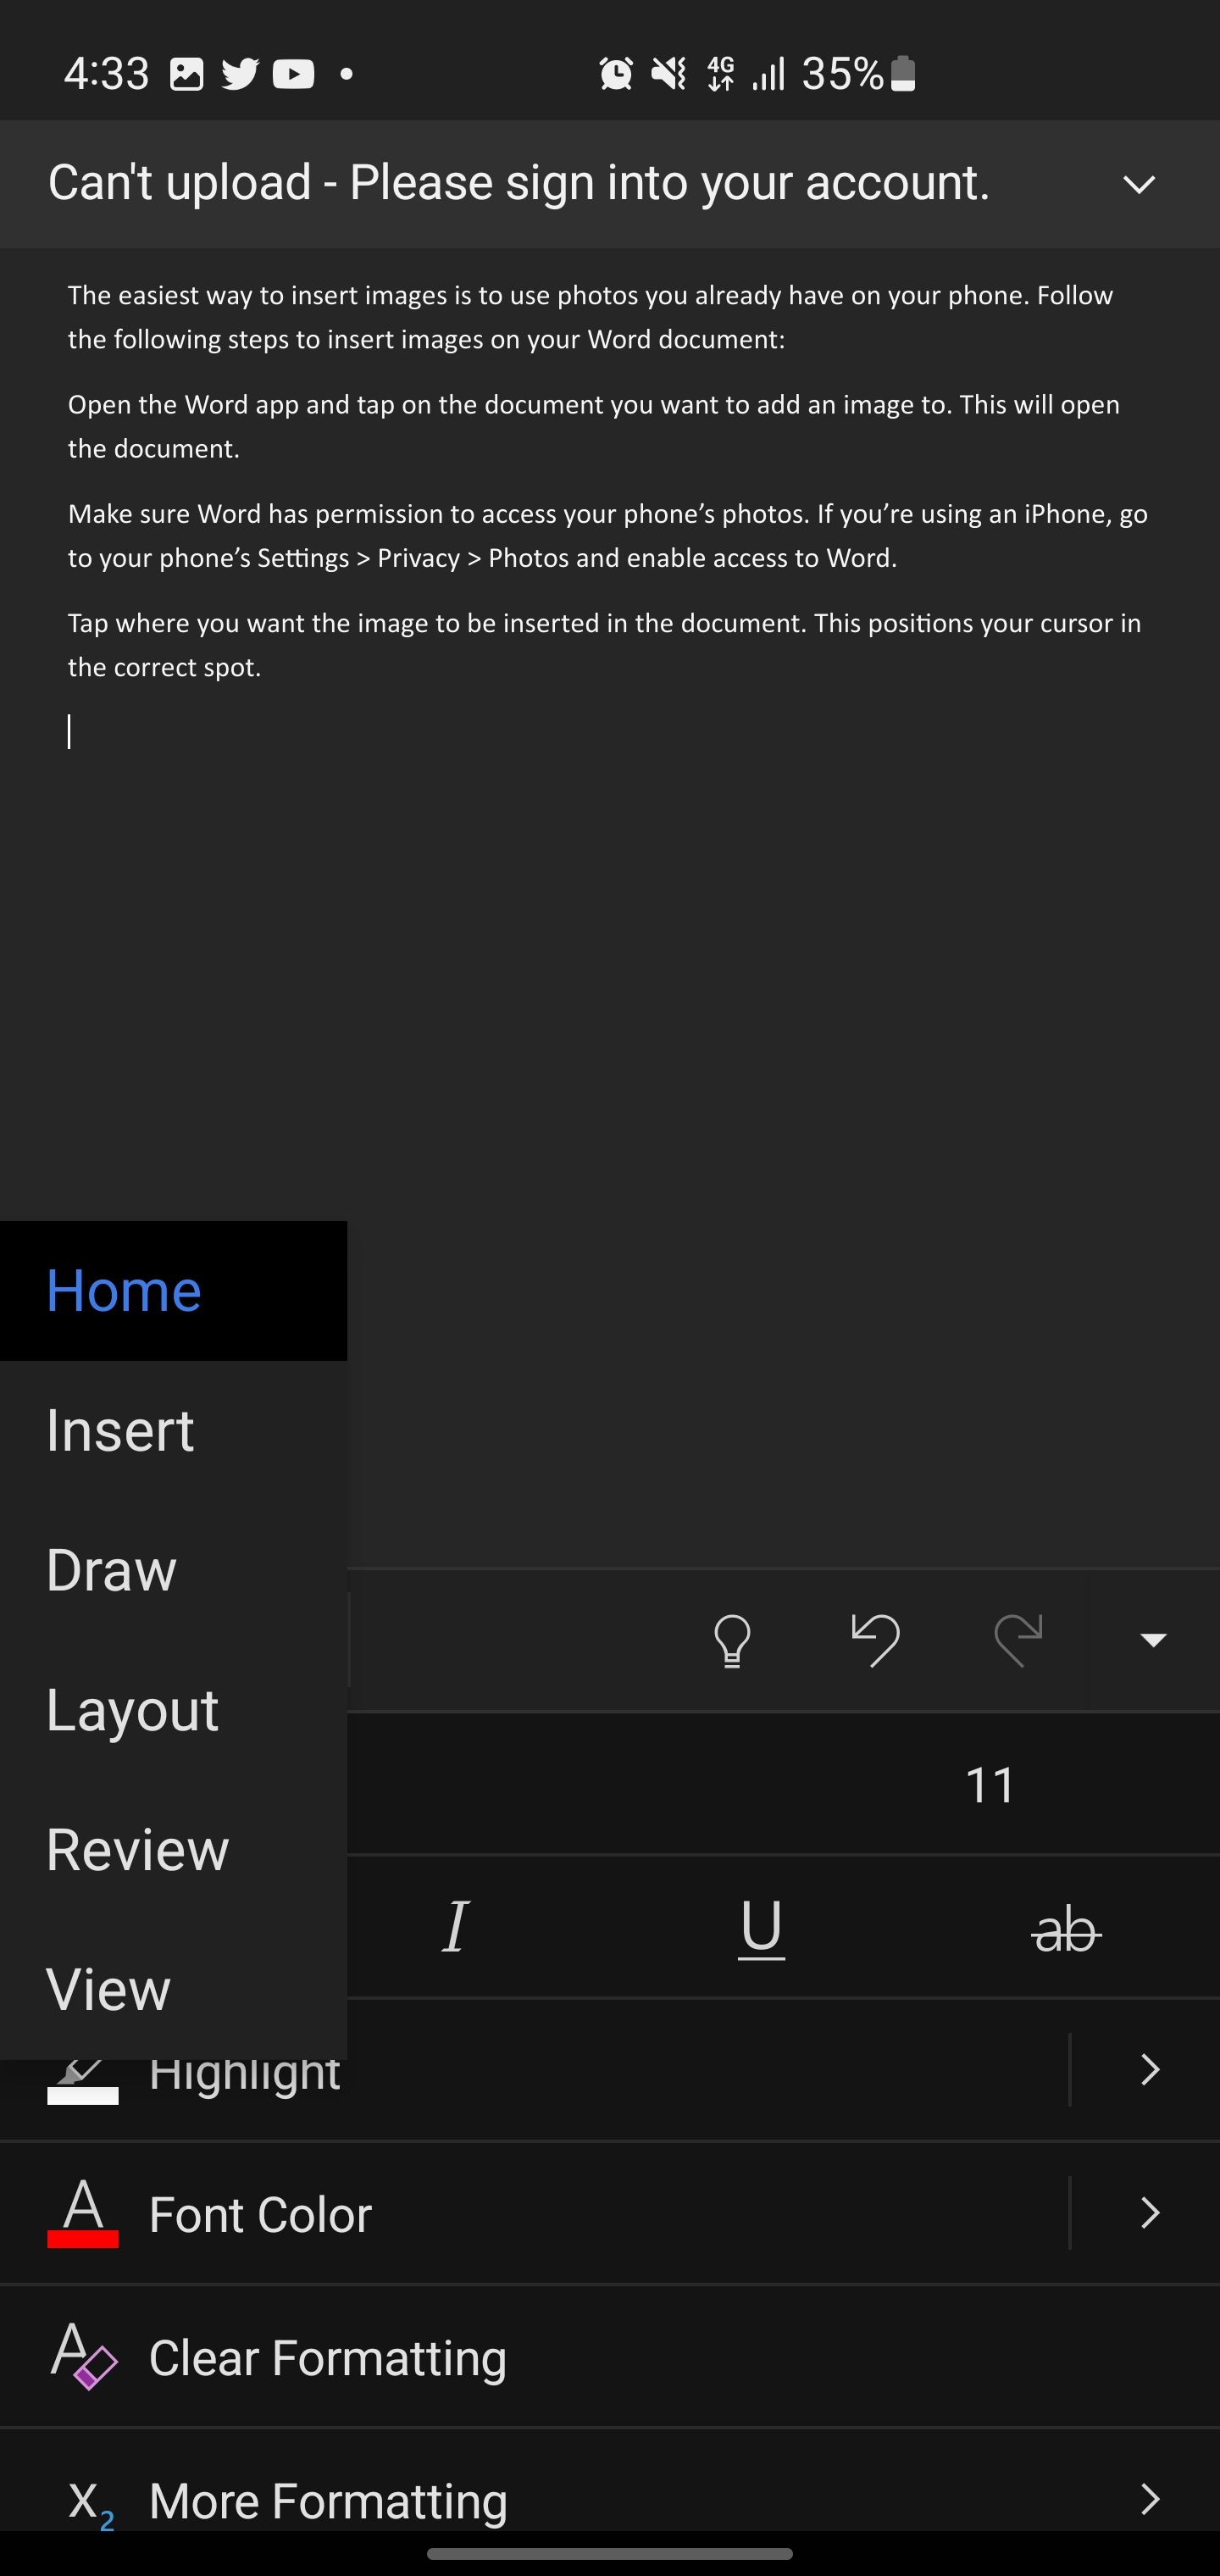
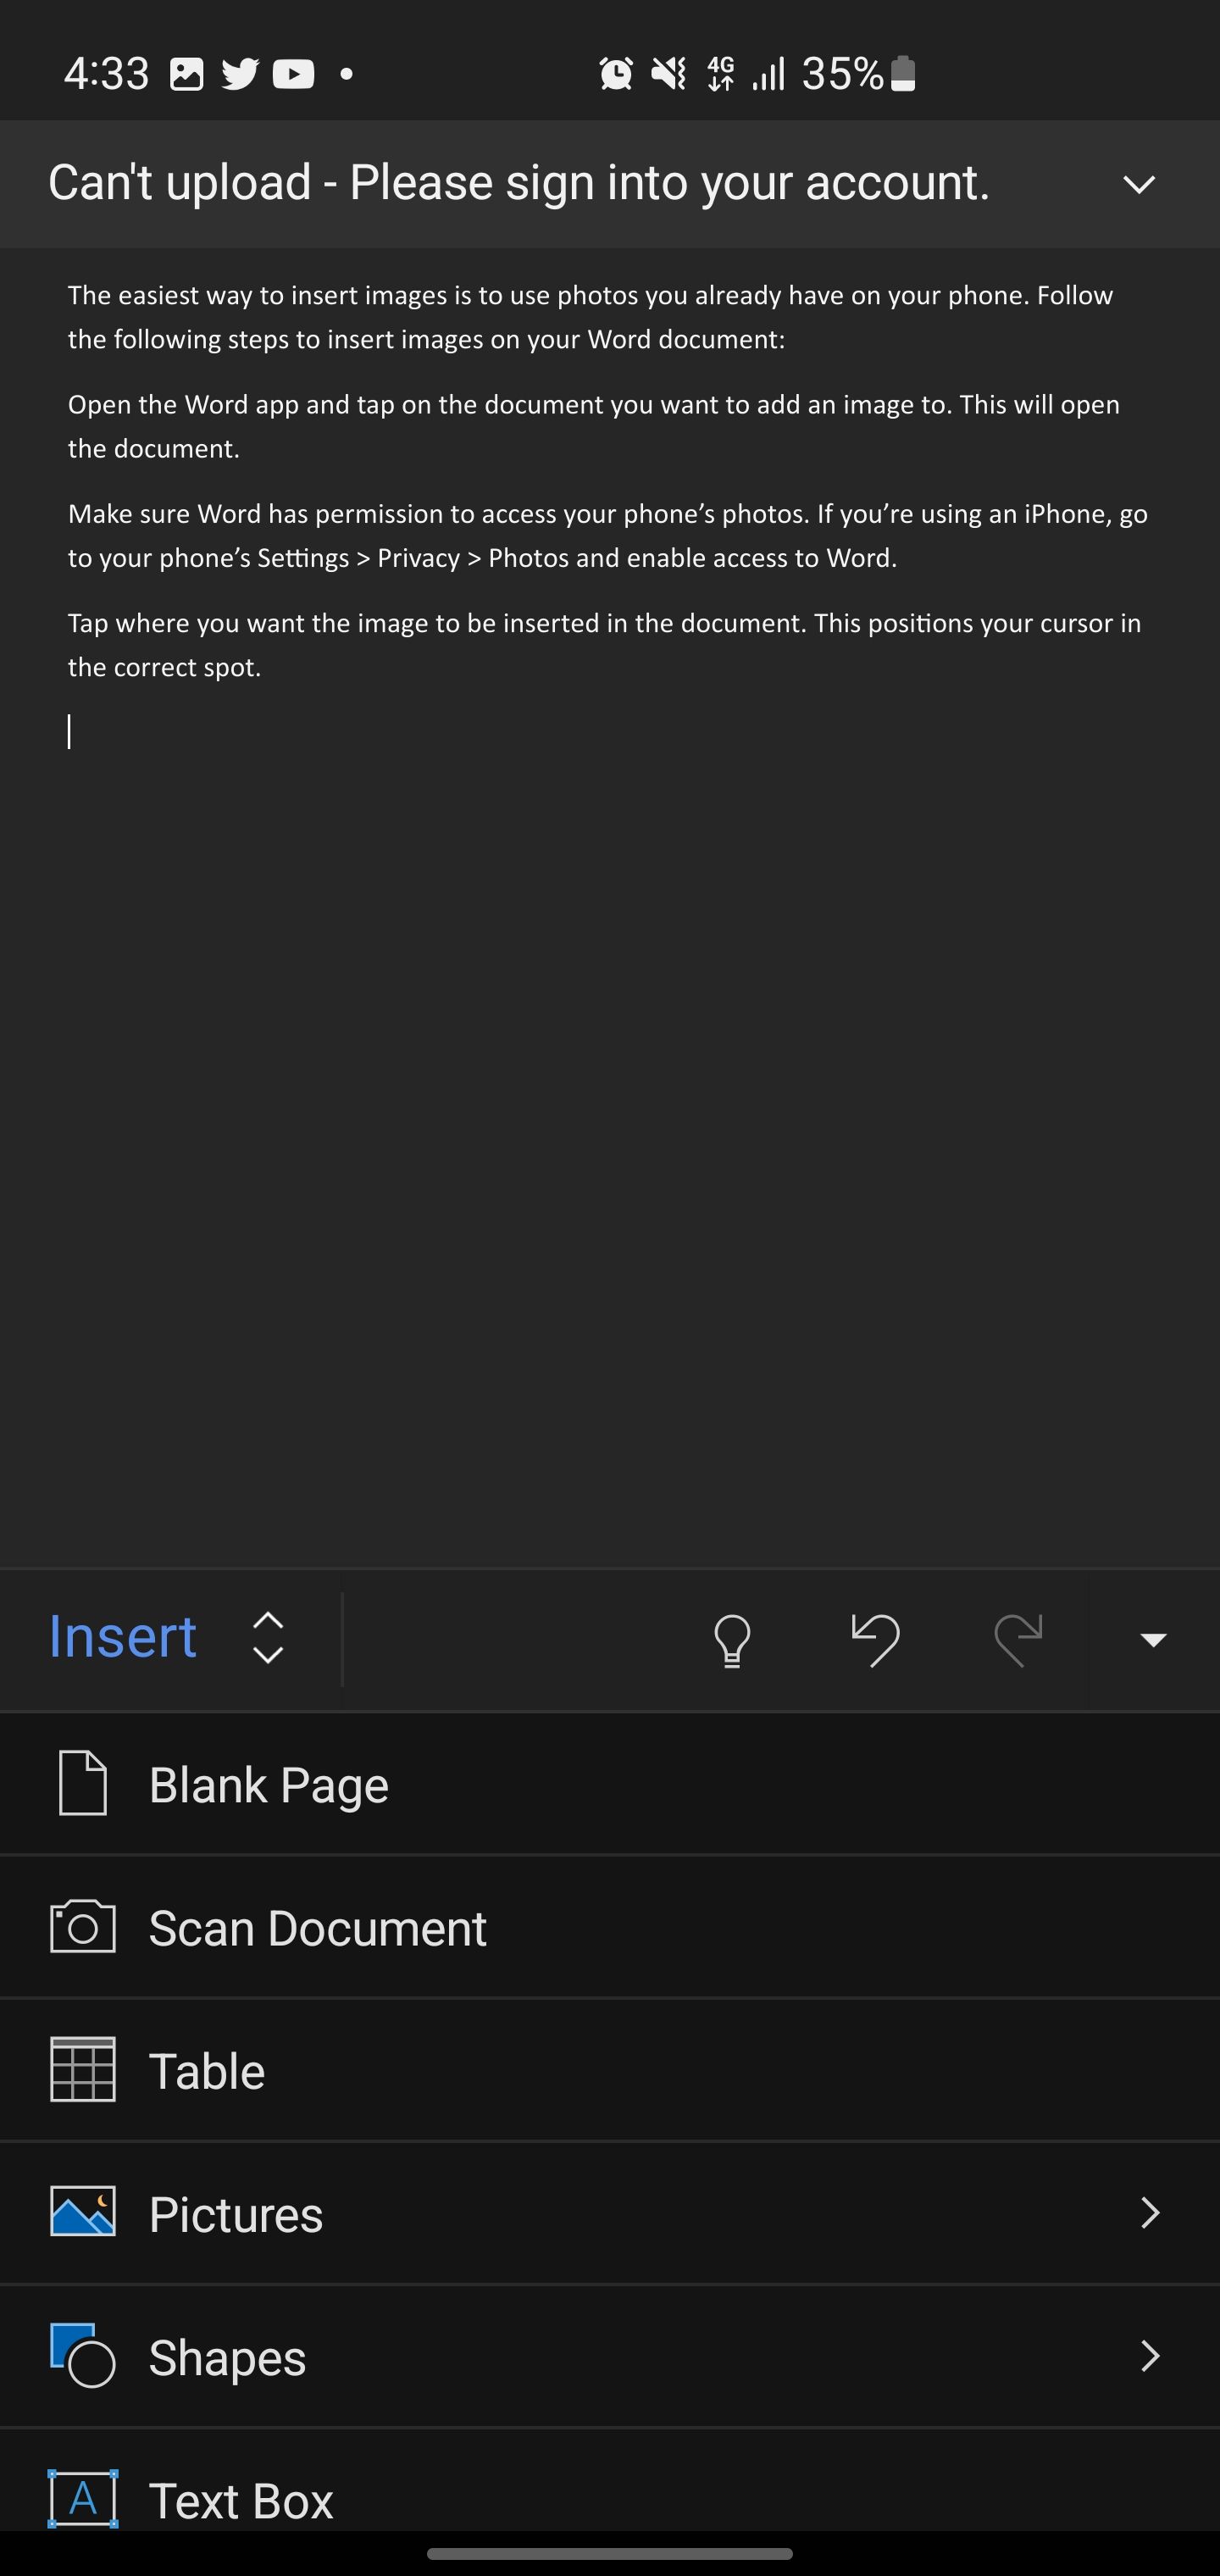
- Go to the Insert tab in the menu bar. If the menu bar isn't visible, tap the arrow icon in the bottom right to expand it.
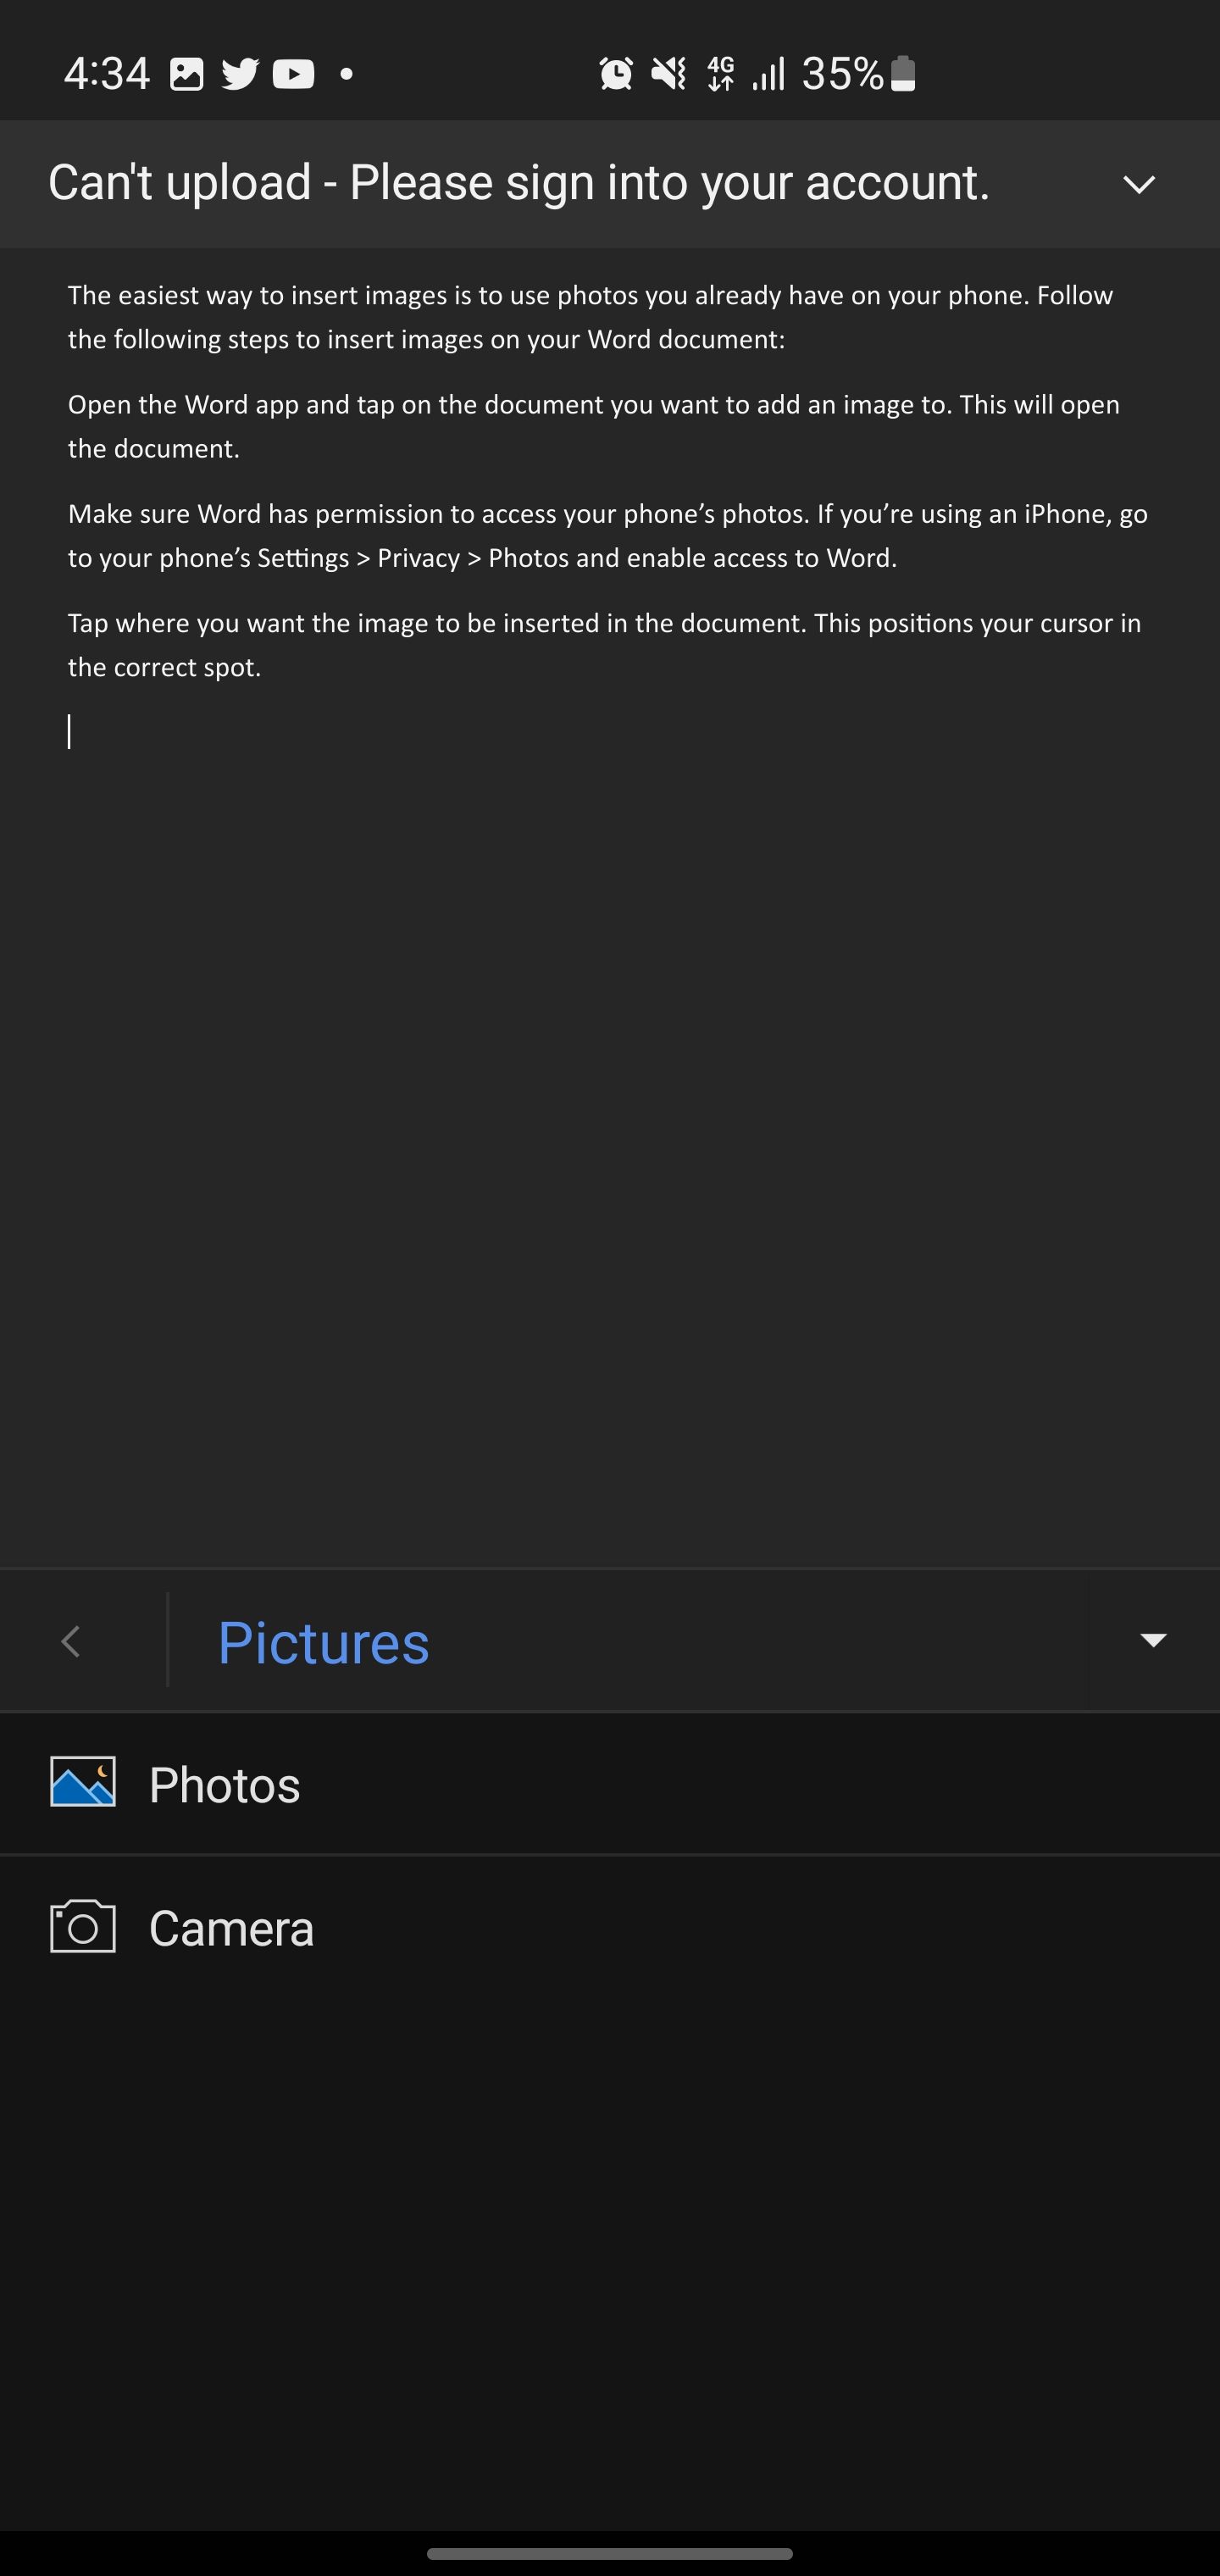
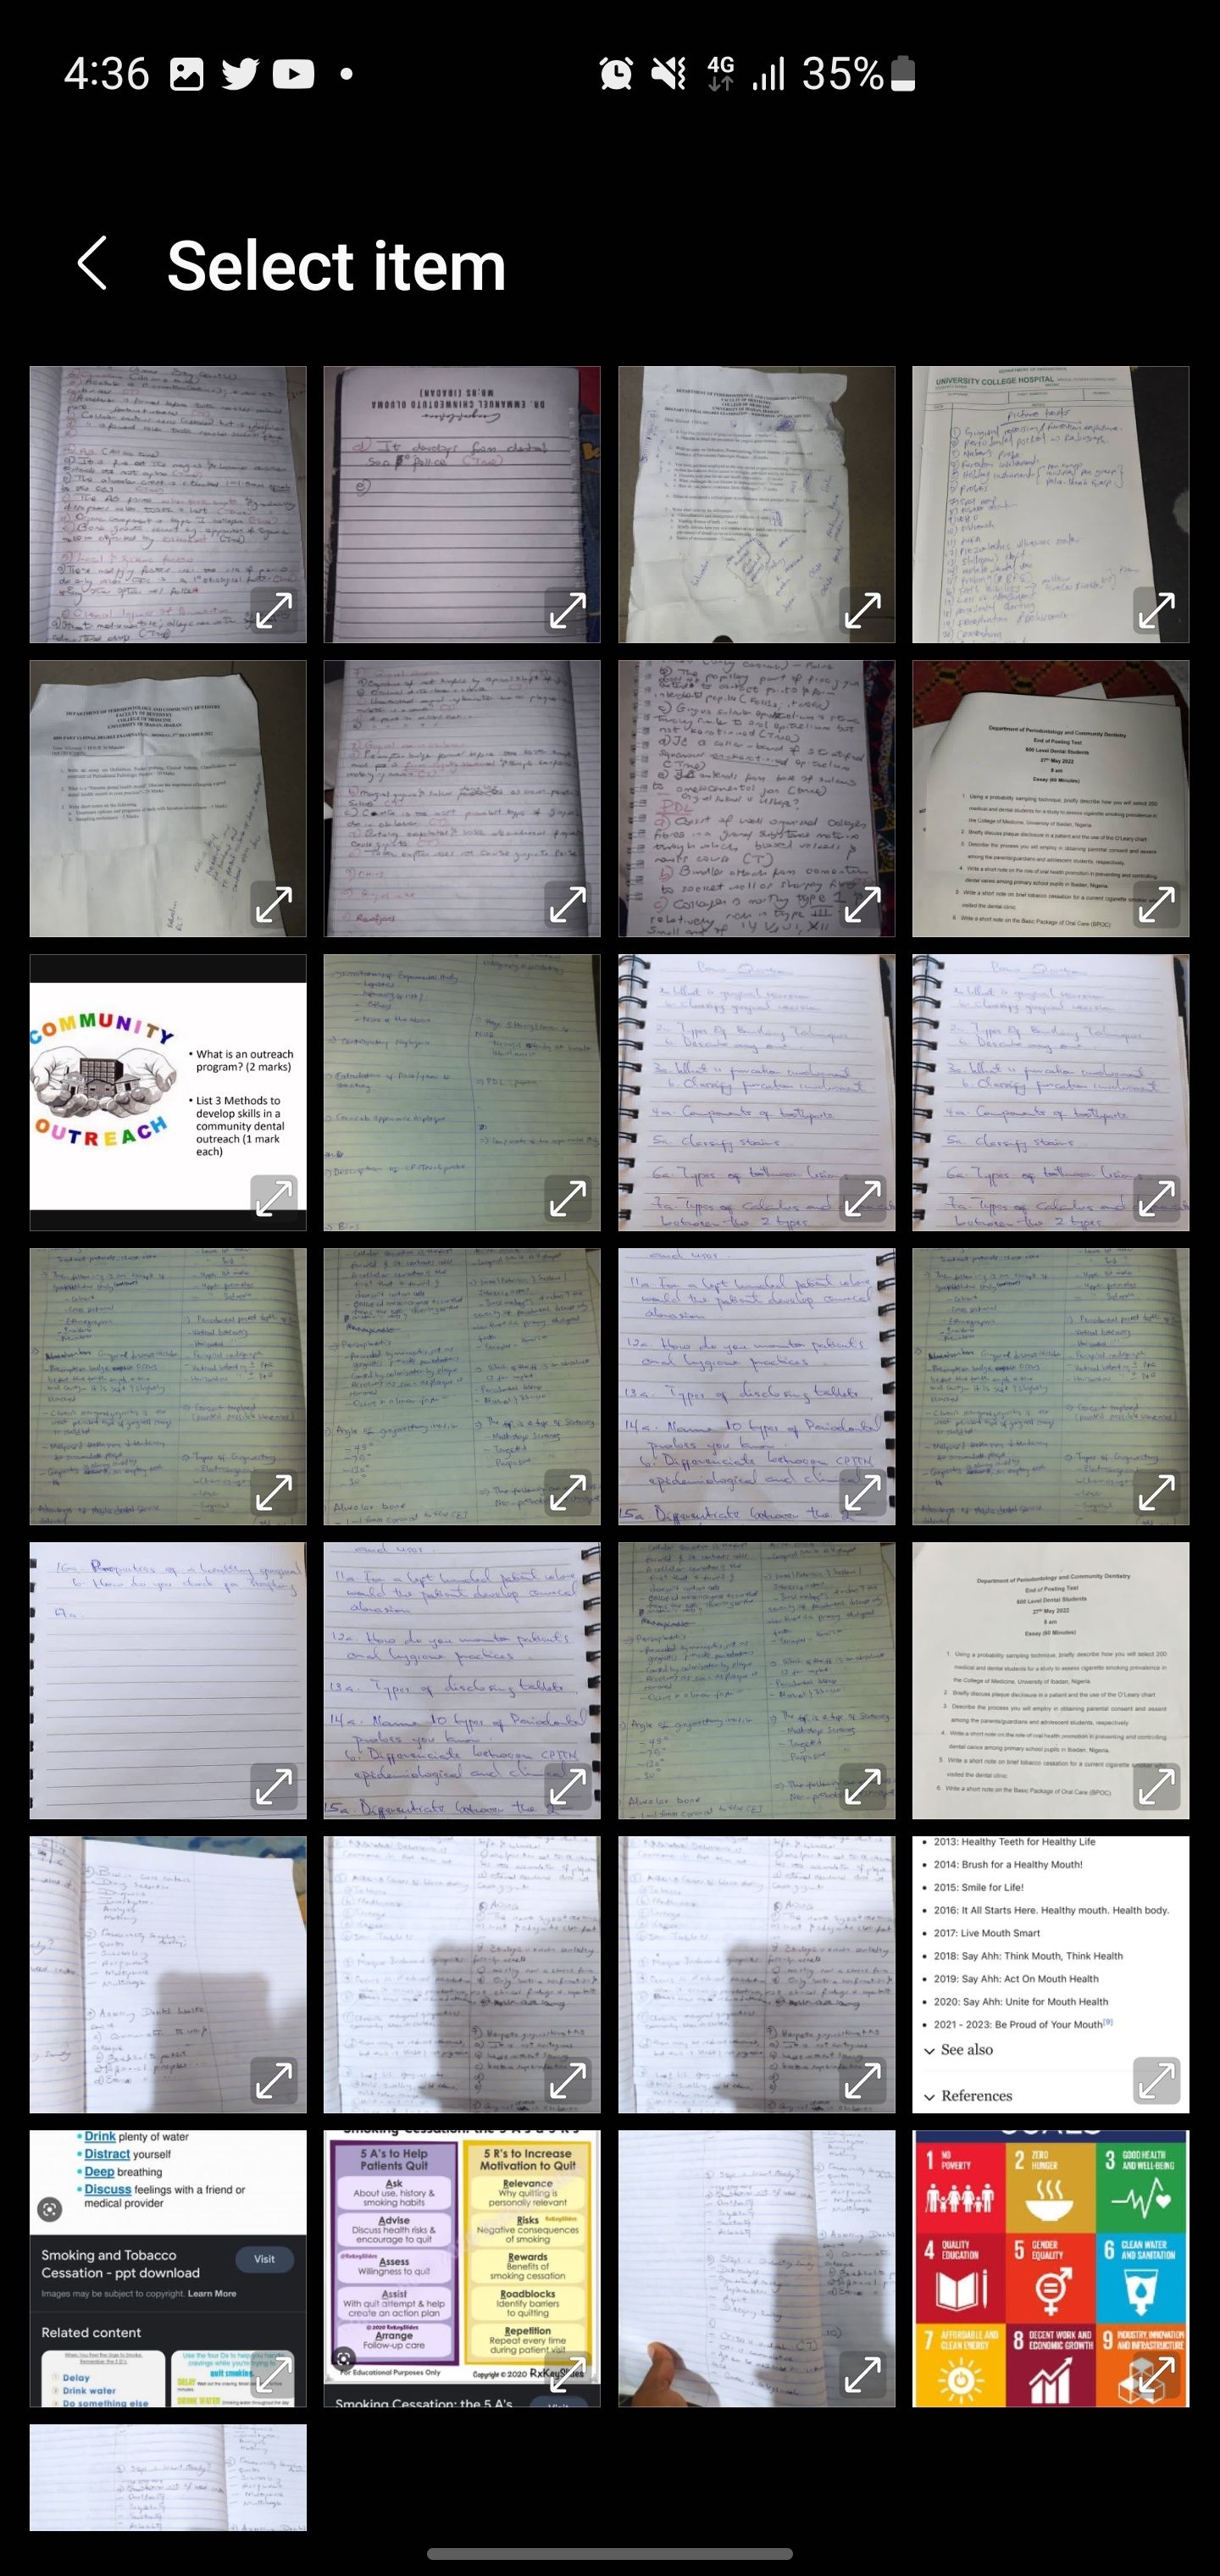
- Select Pictures, then tap Photos to browse your phone's image library. You can also tap Camera to take a new photo directly within Word.
- Find the image you want and select it. A preview will appear.
- Use the crop and rotate tools to edit the image if desired. Tap Done when finished.
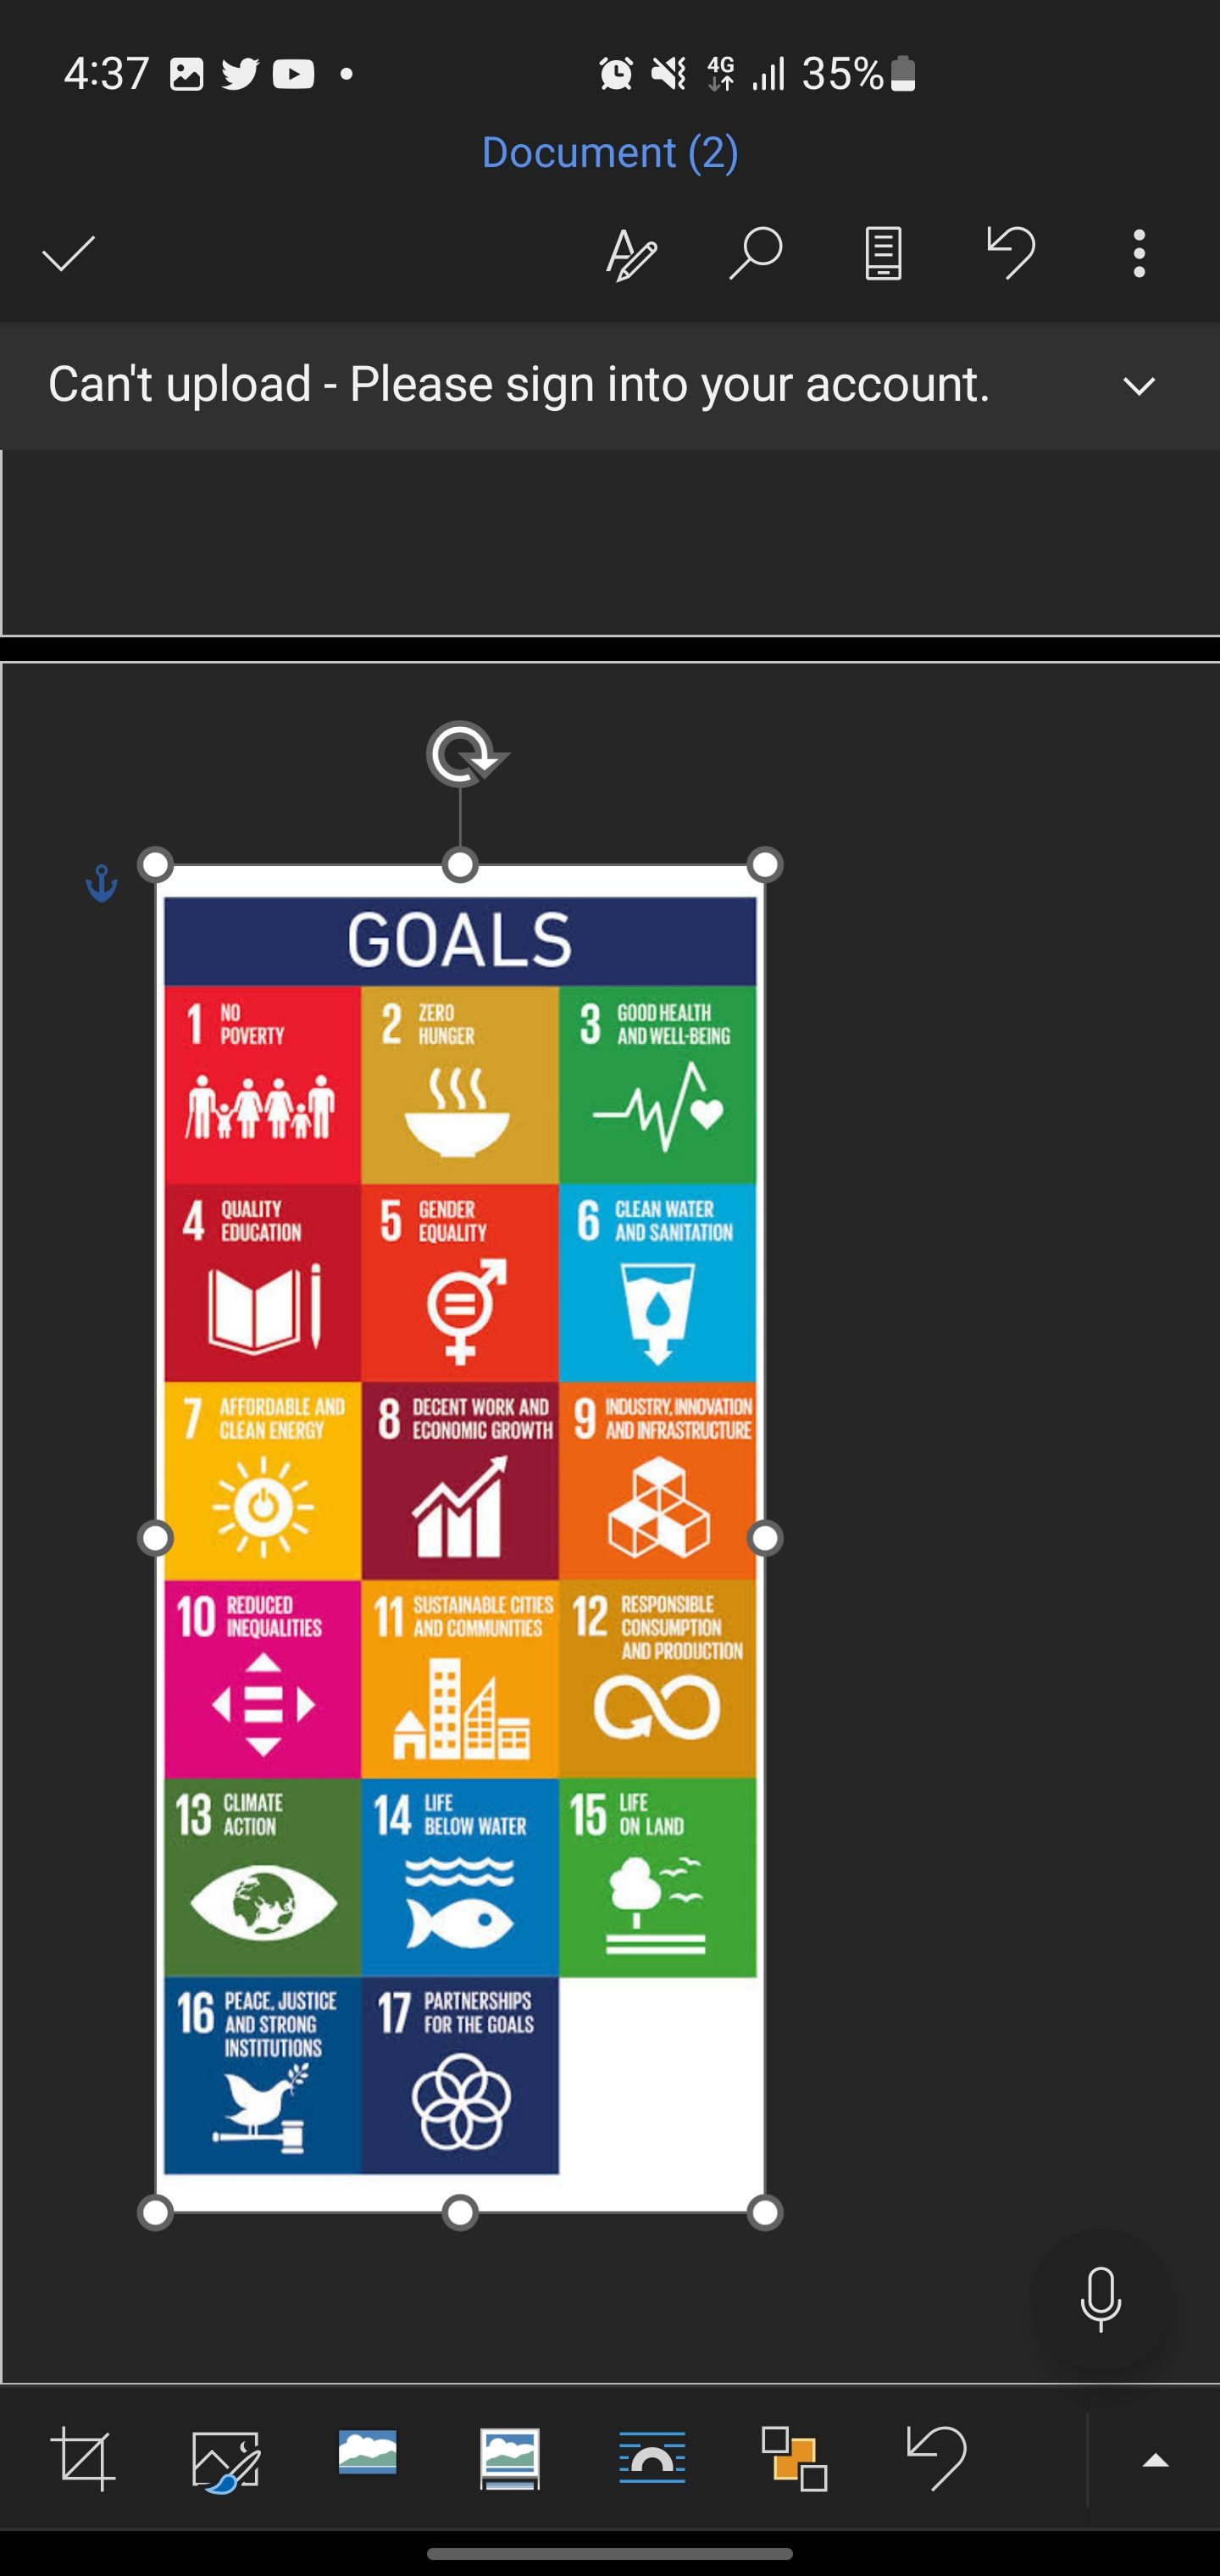
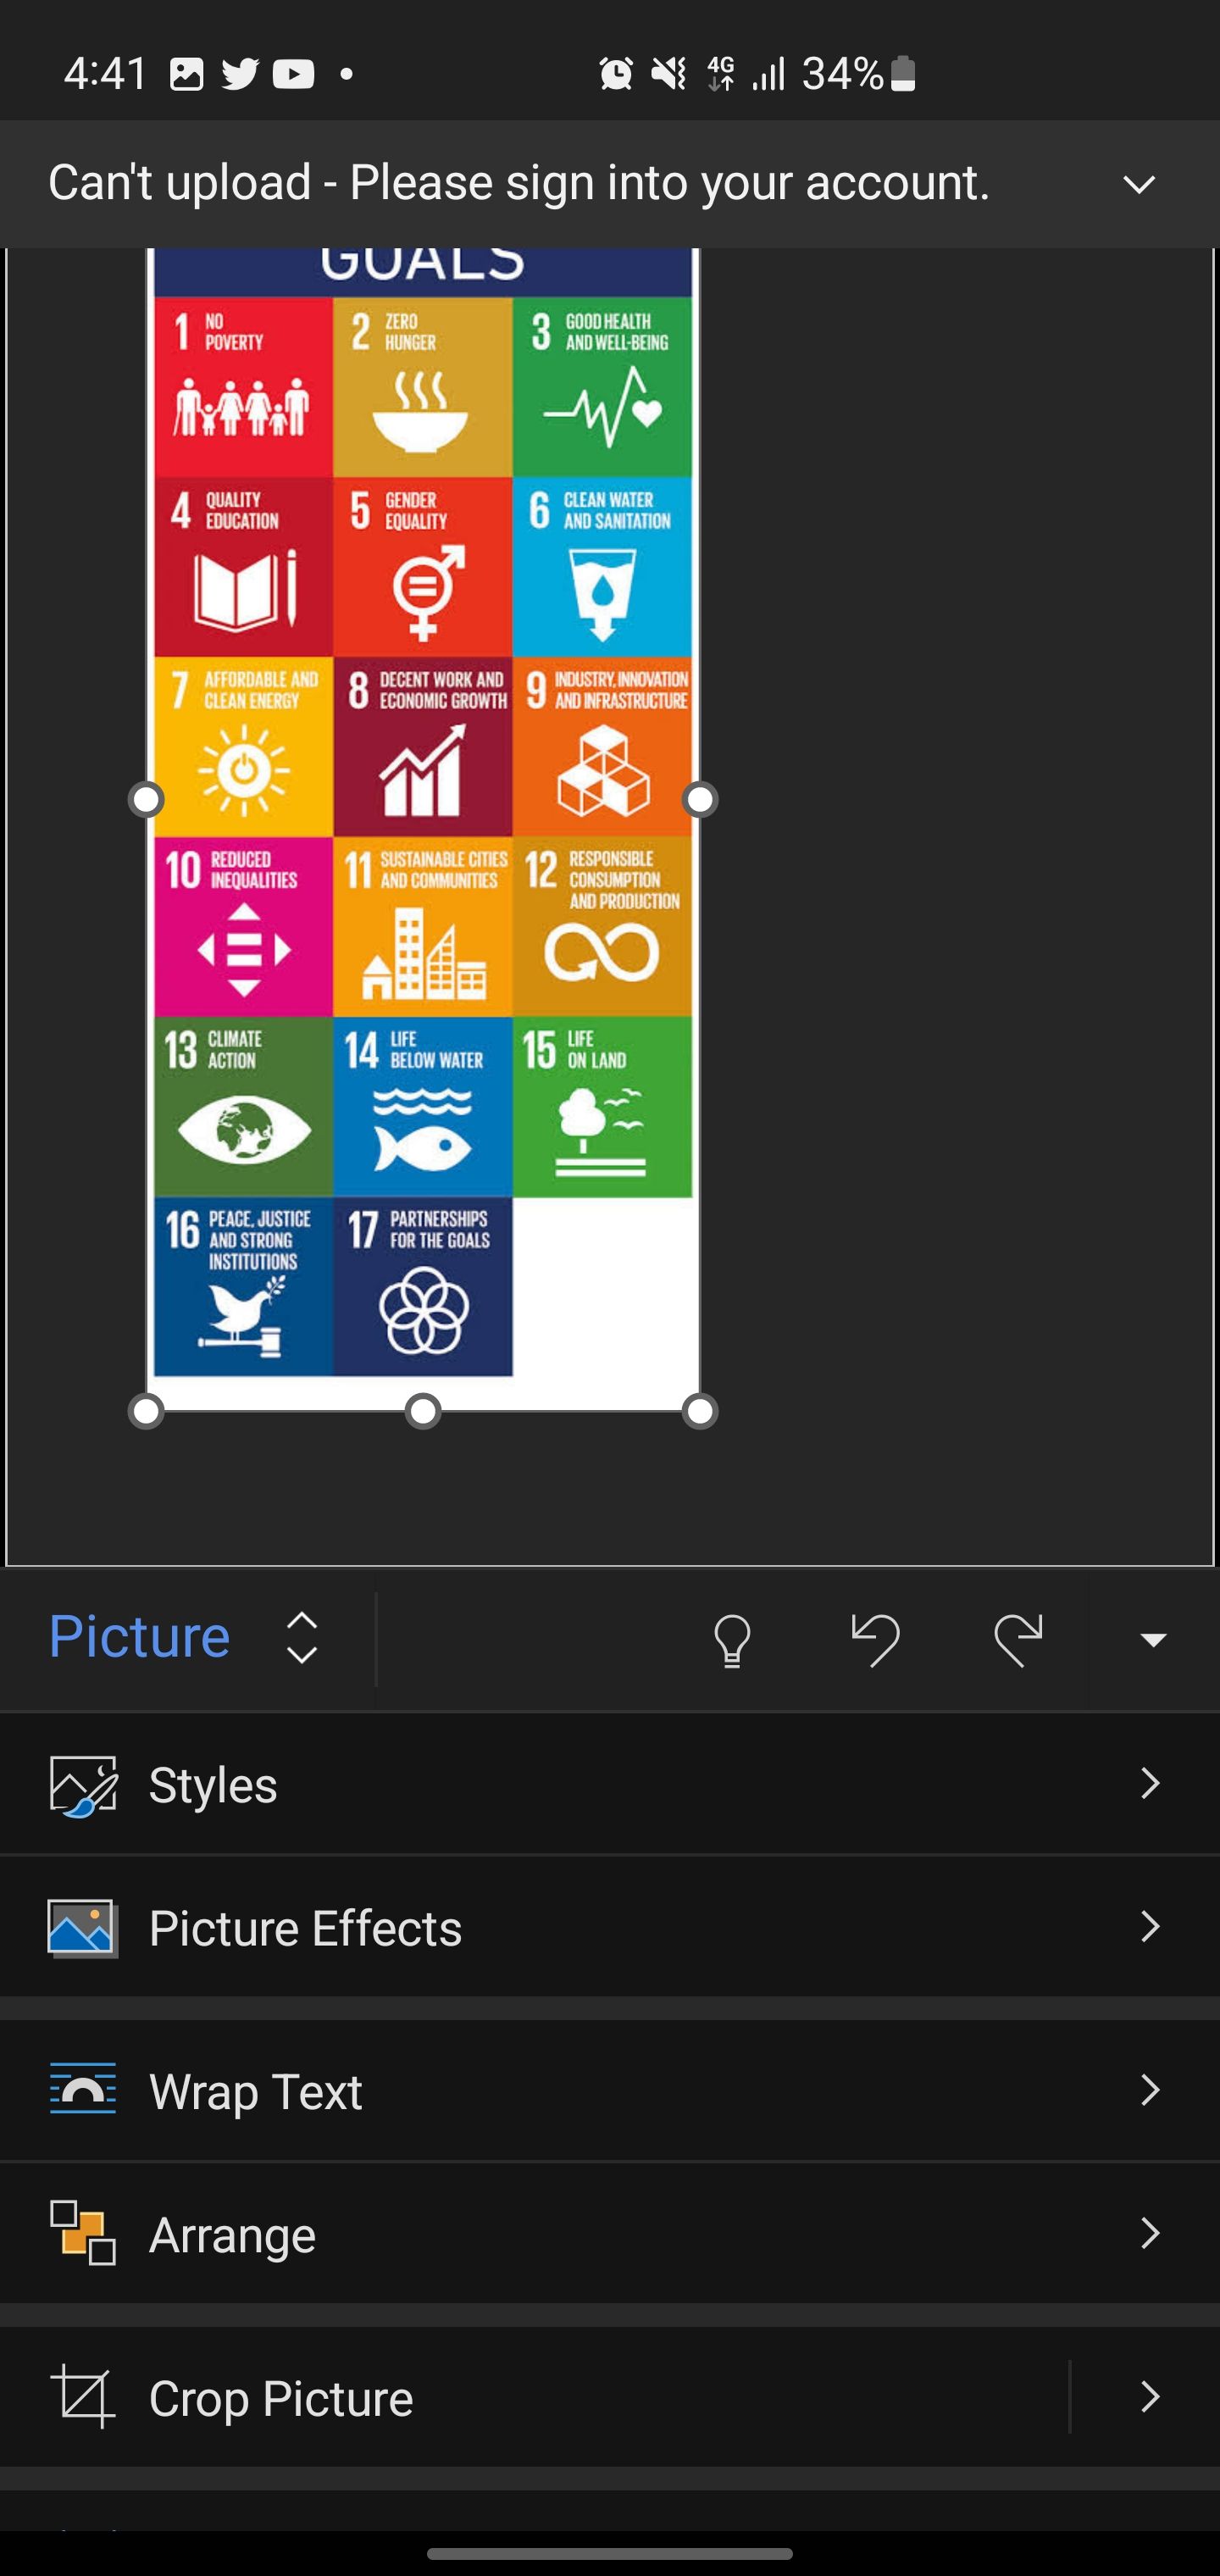
The image will be inserted into your document at the cursor position. You can tap the arrow icon in the bottom right to expand the menu for editing options. Here, you can add picture effects, crop the picture, add alt text, wrap text, resize, reposition, or style the image as needed.
You can also insert additional images and use the Arrange tool to align them relative to each other.
11 Tips for Inserting Images on Word on Phone
Beyond the basics of image insertion, here are some tips to make your images appear unique in Microsoft Word on your phone.
- Start with a high-quality image: Use images with high DPI settings. This will help your photos look crisp and clear on the page. Taking a pic with your phone's camera can work in a pinch.
- Check the file size before inserting: Large image files will make your Word document unwieldy, especially when emailing or storing in the cloud. Photos under 2 MB are ideal for insertion.
- Adjust text wrapping: Edit your photos in Word and experiment with different text wrapping styles. This will help you find the most visually appealing arrangement for your document.
- Resize as needed. Use the sizing handles around the image to resize it after inserting. Large images are better for clarity, while smaller ones can help conserve space.
- Add captions or alt text: Enhance accessibility by including captions, titles, or alt text to describe the image's content in your document.
- Check alignment: Use alignment tools like the ruler in Microsoft Word to align the image properly with the surrounding text.
- View in print layout: Switch to Print Layout view to ensure your document looks as intended when printed.
- Overlay text on pictures: Insert text boxes and position them over images to add text directly onto your photos.
- Undo changes: If you made a mistake, use the Undo button or the Reset Picture and Reset Size options under the Picture menu to undo edits.
- Copy and paste: You copy an image from your phone gallery and paste it into your Word document by long-pressing in the desired location.
- Use the web browser: Like your phone gallery, you can copy and paste images from the web onto your Word document. Long press on an image and select Copy Image. Then paste the image into your Word document.
Implementing these simple tips will help you effortlessly insert quality images into your Word documents on your phone—no more fuzzy, misaligned photos ruining your perfectly formatted page.
Level Up Your Word Docs with Images on Mobile
Adding visuals to your Word docs on mobile just got much easier. Following this guide's steps, you can seamlessly insert photos from your camera roll or take new shots directly within Word.





Leave a Comment