
Excel Pivot Tables – Grouping Dates by Week Within Months, Quarters or Years – Workaround
Excel Pivot Tables – Grouping Dates by Week Within Months, Quarters or Years – Workaround
Earlier we learned about grouping and ungrouping time related information very easily using excel pivot tables. It saves huge amount of time in preparing summary pivot table reports with different dimensions of time.
However, we also learned one limitation of this feature i.e. if we want to group dates by week within a month or quarters or years then its not possible. The reason is, if we group dates by week then we have to select 7 days but if another option like month or quarter or year is selected then number of days revert back to 1. Now this is surely frustrating. But there is a workaround!
Download Practice Excel Workbook
To best understand the techniques in this tutorial is to actually do the steps. To help you out, download this workbook and you can carry out the steps on the data to learn at best
Pivoting the work around in motion
If you haven’t probably taken the importance of extra field that gets added when dates are grouped in more than one dimensions. This field is an extra bonus without doing extra. However, such field is not provided if we group the data in weeks.
The basic idea behind workaround is that we need an extra column containing information of week. This will push another field in the pivot table and thus solves the problem. So lets get started:
Adding week information
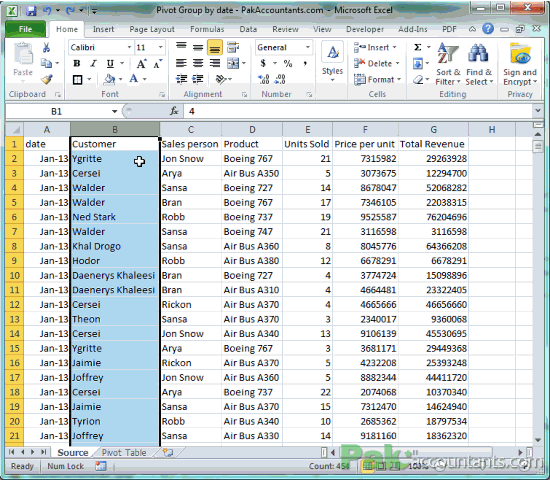
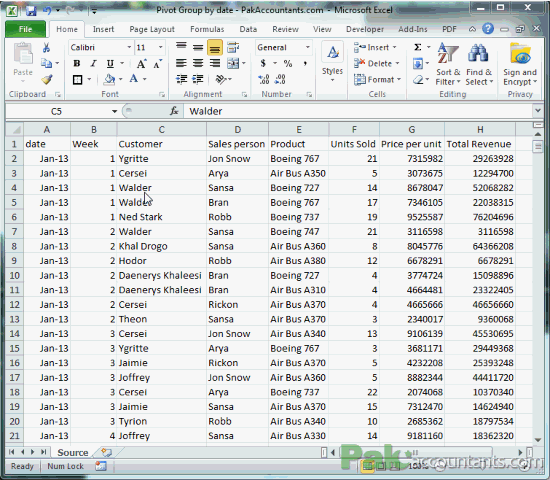
Step 1: Open a worksheet and add a new column after year column.
Step 2: In the first cell of newly added column put this formula:
=WEEKNUM(A1,1)
Step 3: Change the number format to general by going to Home tab > Number group > from the drop down select general. This will accurately formats cell to give a whole number.
Step 4: Have an active cell within range, hit Ctrl+A and go to Insert tab > Table group > Click pivot table button. A new dialogue box appear, click OK.
Step 5: Move Date field from above to row label box. Also move units sold field to Sum of values box. This will give you an instant report according to days.
Step 6: Right click on date column of pivot table. Click grouping from the menu. A new dialogue box appear. From the box select year months and days options. Click OK. Report will now be summarized according to days within months within respective years. And also notice that you have three fields in the row column label box with year on the top then months and then date.
Step 7: From the field pane above, drag week field and drop it right between months and date field in row label box. With this field inserted, months are now summarized in weeks and then days.

Bonus Examples
Now as you know how to add weeks to the data easily, you can easily move things around to make it even cooler. Following examples let you learn extra coolness of pivot tables and grouping data by dates
Grouping by Year > Quarters > Months > Weeks > Days
Step 1: Right click on any date within date column in pivot table. From the menu click group.
Step 2: From the dialogue box select year, month and quarters options. Click OK. This will group the dates by year, quarters, months and days.
Step 3: To add weeks just drag the week field from above and drop it between months and days.
Step 4: Remove dates field from the row label box to group data correctly.
Report Weeks against respective month within each year
Step 1: Group the dates field by year and months.
Step 2: Remove date field from the row label box and put the week field in the column label box.
Result: You get a nice looking report, detailing units sold each week in respective month
#evba #etipfree #eama #kingexcel📤How to Download ebooks: https://www.evba.info/2020/02/instructions-for-downloading-documents.html?m=1


Leave a Comment