
Excel Drop Down List using Data Validation and Excel Tables that updates dynamically – How To
Excel Drop Down List using Data Validation and Excel Tables that updates dynamically – How To
Simple Vs Dynamic
Dynamic data validation lists is an advanced use of data validation list in a way that it updates if the underlying data grows or shrinks. For example if you have products and have them listed in a data validation list. Now if you add or delete products in that list, data validation list will not update especially for new items added to the list.
Following animation reproduce this problem:
To cater this problem that list grows as the number of products grow we use dynamic data validation lists and not simple data validation lists.
A word about example
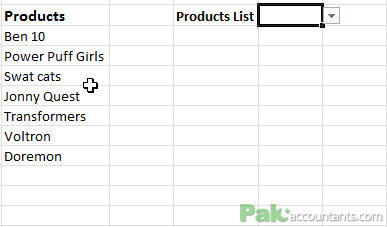
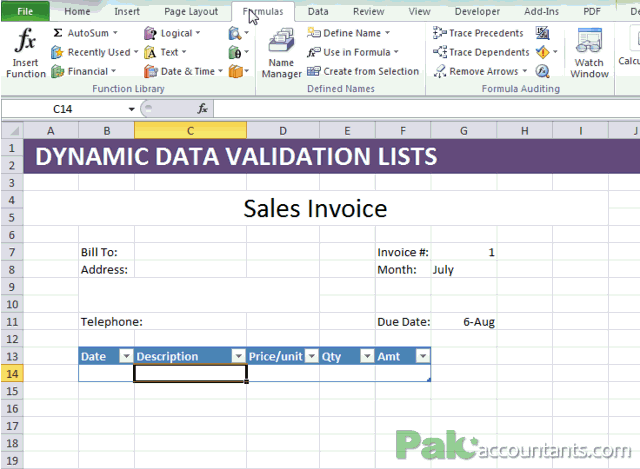
We have an invoice template in which we select products through drop-down list. What we want is that if new items are added, they must be available in the drop down list automatically and we don’t have to recreate data validation list from scratch. This is achieved using dynamic data validation lists. Read on to learn how to get this done.
Excel Tutorial Workbook
For the purpose of this tutorial you need to download this excel file to best understand how to apply the techniques learnt in this tutorial
Making dynamic data validation lists using Excel Tables
Basic concept
One of the biggest charms of using Excel tables is that it converts an ordinary range of data in to a dynamic range i.e. Excel tables has the ability to grow or shrink with the data. Data being this capable when fed to most of the Excel features like Data validation or pivot tables they update they are able to update the end result if the underlying data changes.
To learn more benefits of using Excel tables don’t forget to read one of the favourite articles of visitors 20+ Excel Table Tricks
Step-by-step
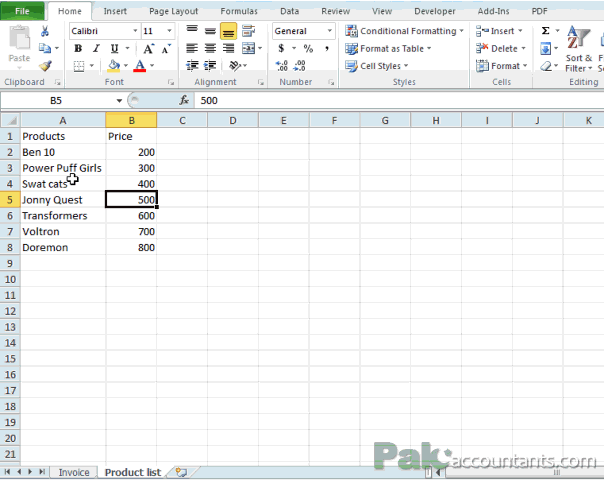
Step 1: Download and tutorial workbook that comes with this article. Click Product list worksheet tab to make it active.
Step 2: Have an active cell within range to select the products and price per unit. Once range is selected hit shortcut Ctrl+T to convert the range into Table. You can have this done by going to Insert Tab > Tables group > click Tables button. In the dialogue box that appears make sure “My data has headers” is checked. Click OK. Range is now an Excel table.
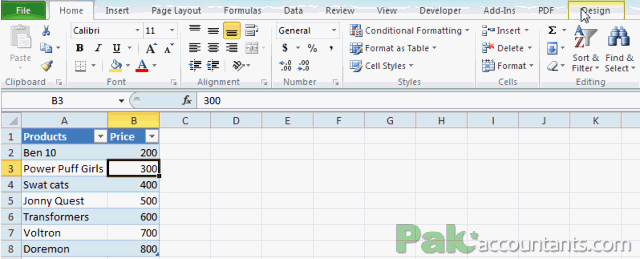
Step 3: Having the active cell inside table, click Design tab and go to properties group. Change the name of table to productslist. Make sure there are no spaces in the name. Press Enter to confirm the name. Now your table is named ‘productslist’.
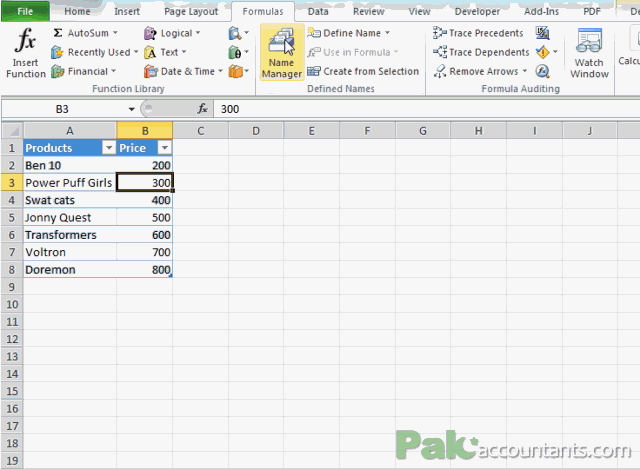
Step 4: Hit Ctrl+F3 to bring Names manager dialogue box up. Click New button. A new dialogue box to define new name will appear. In the name field write product. Click once in the ‘refers to’ field to make it active and revert back to table to make the selection. Select the “Products” column of the table completely. You will notice that reference is something like this: =productslist[Products]. This is a structured reference. This referencing system is available only with Excel Tables. ‘productslist’ is the name of table and [Products] represent the ‘Products’ of the table.
Structured reference is the real fuel in making Excel table truly dynamic. As you can see while defining name we didn’t mention any static range like A2:A8 (which it should be in our case) instead it is tablename[columnname]. With this address whatever goes in that column now will get counted as it is independent of rows because they are not specified.
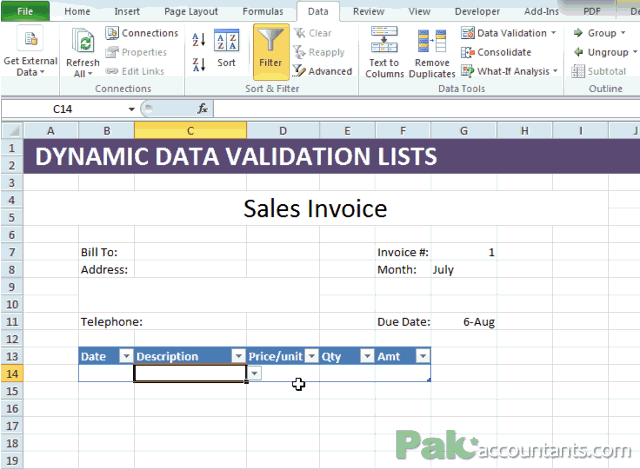
Step 5: Go to Invoice worksheet and make cell C14 active. Click Data tab > Data tools group > click Data validation button.
Step 6: Stay in the settings tab and from the Allow list select ‘list’.
Step 7: Click once in Source field and hit F3 key to invoke paste name dialogue box. Select product from the options and click OK. This will paste the name in the source field. The same one we defined earlier in step 4. Click OK again. This will insert drop-down list in place.
Step 8: To make Excel fetch the price of the product selected from the validated list, put this formula in cell D14:
=IFERROR(VLOOKUP([@Description],productslist,2),"")
Step 9: In the amount field put the following formula to calculate the total amount for specific product:
=IFERROR([@[Price/unit]]*[@Qty],"")
Your invoice template is ready for action with dynamic data validation list. Just put in the date, select the product and mention units and everything else is all set in place.
To test if the product list gets updated or not. Go back to product list worksheet and add a new product with the name ‘Tic Tac’ with the price 900. Go back to invoice worksheet and check if the drop-down list now also list Tic Tac and its there! You have just excelled massively on data validation lists!
#evba #etipfree #eama #kingexcel📤How to Download ebooks: https://www.evba.info/2020/02/instructions-for-downloading-documents.html?m=1


Leave a Comment