How to Move Rows and Columns in Excel (The Best and Fastest Way)
How to Move Rows and Columns in Excel (The Best and Fastest Way)
Sometimes when working with data in Excel, you may have a need to move rows and columns in the dataset.
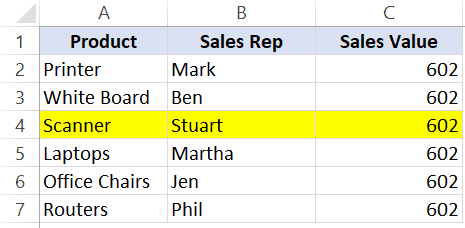
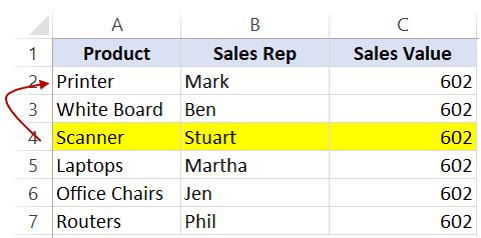
For example, in the below dataset, I want to quickly move the highlighted row to the top.

If yes – well that’s one way to do this.
But there is a lot faster way to move rows and columns in Excel.
In this tutorial, I will show you a fast way to move rows and columns in Excel – using an amazing shortcut.
Move Rows in Excel
Suppose I have the following dataset and I want to move the highlighted row to the second row (just below the headers):

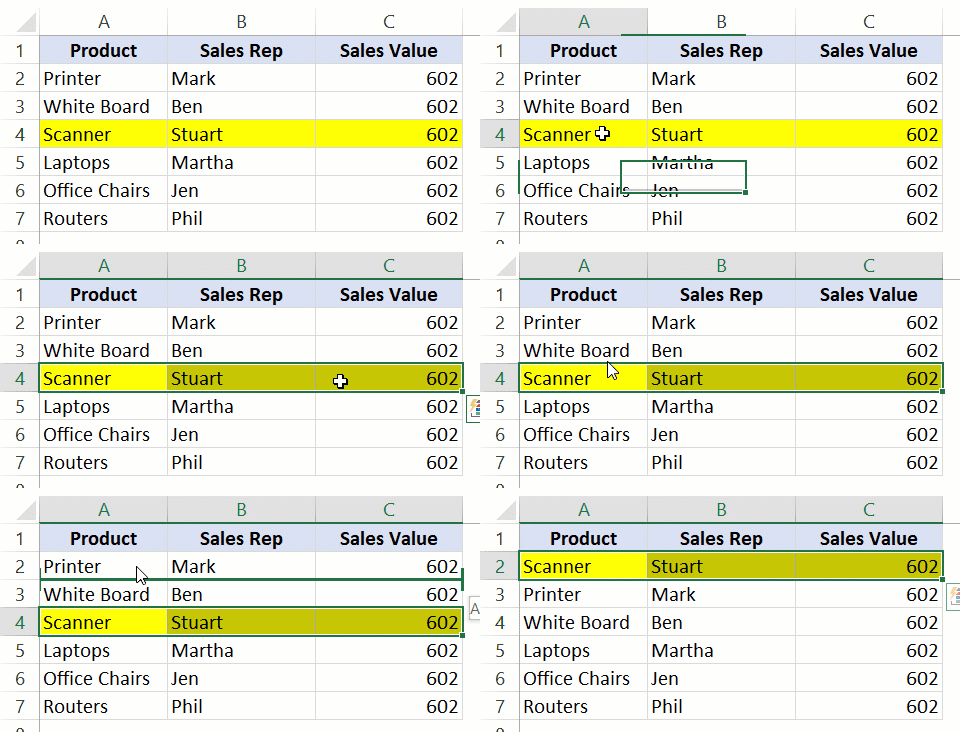
Here are the steps to do this:
- Select the row that you want to move.
- Hold the Shift Key from your keyboard.
- Move your cursor to the edge of the selection. It would display the move icon (a four directional arrow icon).
- Click on the edge (with left mouse button) while still holding the shift key.
- Move it to the row where you want this row to be shifted
- Leave the mouse button when you see a bold line right below the row where you want to move this row.
- Leave the Shift-key (remember to keep the Shift key pressed till the end)
Below is a video that shows how to move a row using this method.

Note that in this example, I have moved the selected cells only.
If you want to move the entire row, you can select the entire row and then follow the same steps.
Here are some important things to know about this method:
- You can move contiguous rows (or some cells from the contiguous rows). You can’t move non-contiguous rows using this method. For example, you can’t move row # 4 and 6 at the same time. However, you can move row #5 and 6 at the same time by selecting it.
- When you move some cells in a row/column using this method, it will not impact any other data in the worksheet. In the above example, any data outside (above/below or to the right/left of this table) remains unaffected.
Move Columns in Excel
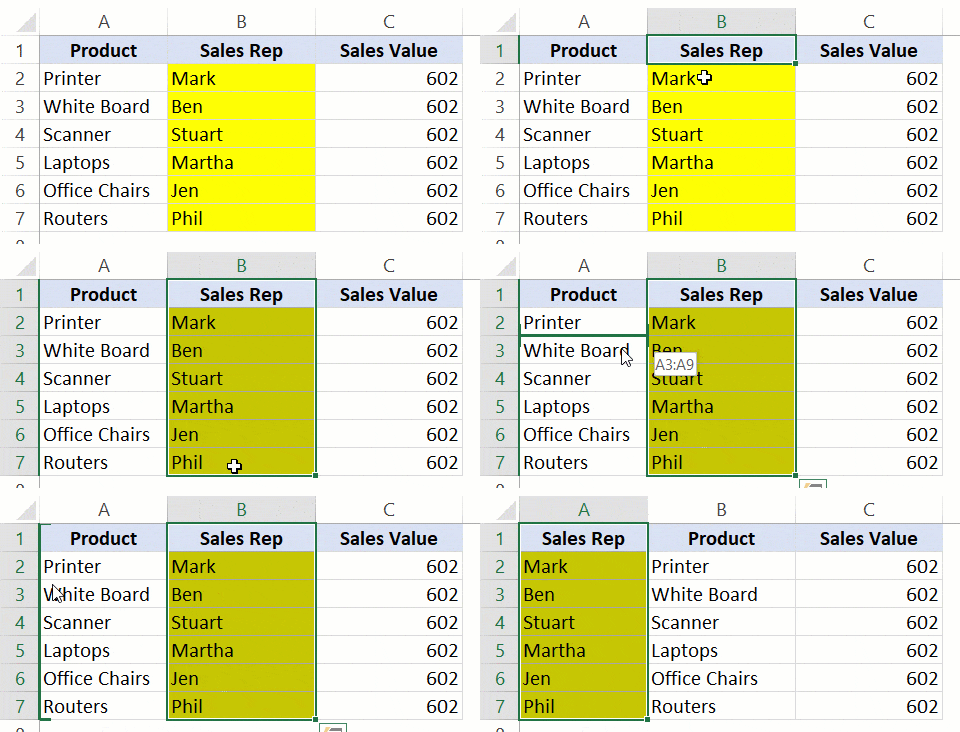
The same technique can also be used to move columns in Excel.

Here are the steps:
- Select the column (or contiguous columns) that you want to move.
- Hold the Shift Key from your keyboard.
- Move your cursor to the edge of the selection. It would display the move icon (a four directional arrow icon).
- Click on the edge (with left mouse button) while still holding the shift key.
- Move it to the column where you want this row to be shifted
- Leave the mouse button when you see a bold line to the edge of the column where you want to move this column.
- Leave the Shift-key (remember to keep the Shift key pressed till the end).
📤You download App EVBA.info installed directly on the latest phone here : https://www.evba.info/p/app-evbainfo-setting-for-your-phone.html?m=1


Leave a Comment