
How to AutoFit in Excel?

We have many features in MS Excel but certainly, we are using the cells on Autofit alignment to correct the size of cells. You may know how to change the width of a column in MS Excel, but do you know how to automatically fit the widest entry in a column? Here we use Autofit alignment feature in excel.
You can download this AutoFit Excel Template here – AutoFit Excel Template
- MS Excel’s AutoFit feature is designed to automatically resize cells in a worksheet to accommodate different sized data without having to manually change the column width and row eight.
- Autofit function helps us to arrange the data/value in a particular order, automatic action on alignment, fix the lengthiest string/alphanumeric values into a resized column/Row automatically.
Let us have a look at the top 5 methods to Autofit in Excel
#1 – How to AutoFit by Double Click on Mouse?
Double-click the line in-between a cell in all versions of Excel to AutoFit cells without having to go through a menu.
- Below Screen shot shows the worksheet of “A” Column with some of the address but it’s limited with the cell size.
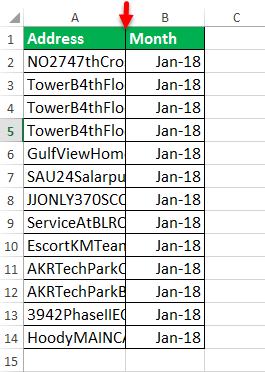
- In the MS Excel worksheet just move the Mouse point in the mid of A & B cell line as mentioned below screenshot.
- After that, we have to click twice with the use of mouse point on the mid of A & B cell line.
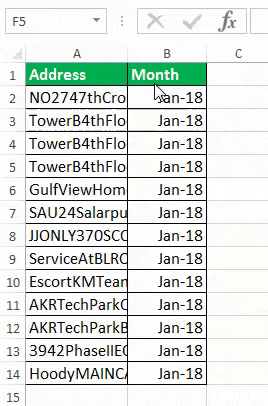
Now you can see the visibility of the entire value of the cell mentioned in the A Column that automatically fit the value of a cell.
#2 – How to AutoFit by Select and Drag Option?
This below feature is same as Autofit cells size using Mouse point just with the selection and dragging to make the cells automatically fit the value base size.
Select the Row/Column which you want to Autofit cells in all versions of Excel to AutoFit cells without having to go through a menu.
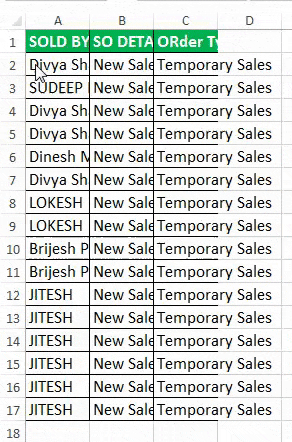
We will this feature of Autofit In the below illustration, here we could able find the “A” Column of SOLD BY is having names but not showing the complete names. So here will go for Autofit adjustments.
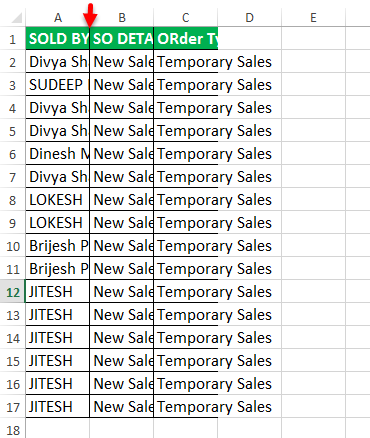
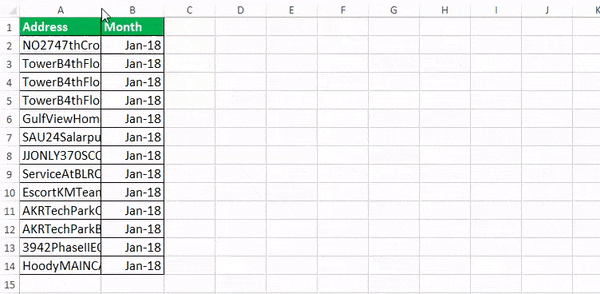
- Select the line of “ A” (I.e. SOLD BY)column in the worksheet as mentioned in the below screenshot.
- After that, Just Drag the Mouse point on the worksheet with the desired length of cell value as mentioned in the below screenshot.

#3 – How to AutoFit Using Menu with Few Tabs?
This feature is same as Autofit but the usage begins with Menu/buttons either mouse selection or shortcut keys as you like it we could use it further.
Here we go with very smaller steps
- Select the rows/column which you want to AutoFit (if need to AutoFit all rows and columns, click the top left box to select everything or You can highlight multiple rows/columns by holding Ctrl key and selecting each row/column).
- Go to Home Menu and select the Excel Format button as mentioned in the below screenshot.
- After that select AutoFit Column width to complete the Autofit action on desired cells.
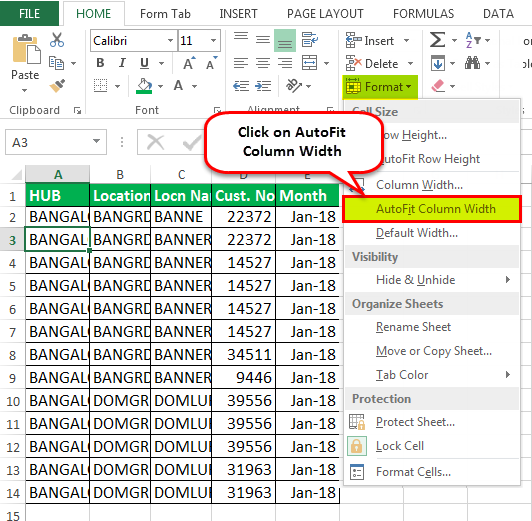
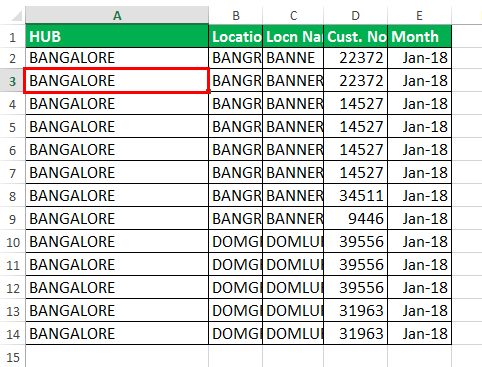
- After that Click/select on AutoFit Column width button, the selected cell of A Column will automatically extend the size of a cell.
#4 – How to Autofit Using AutoFit Row Height Button?
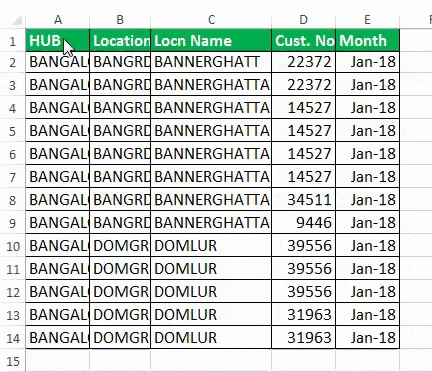
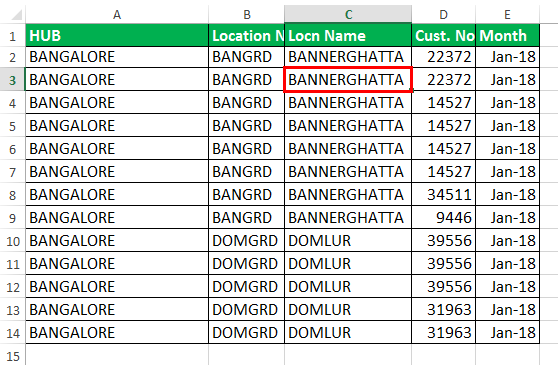
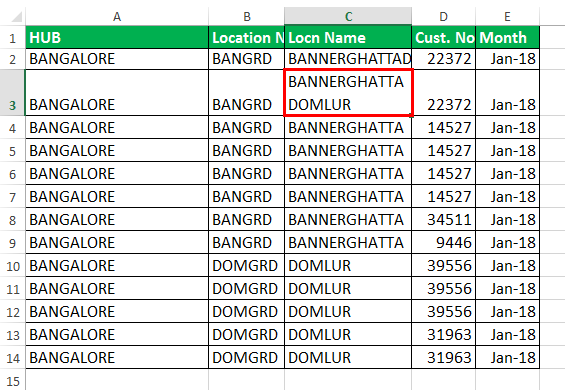
- In a worksheet just we selected one of the cells which are having two lines in same cells. This cell is having the values of “BANNERGHATTA DOMLUR” but showing only BANNERGHATTA.
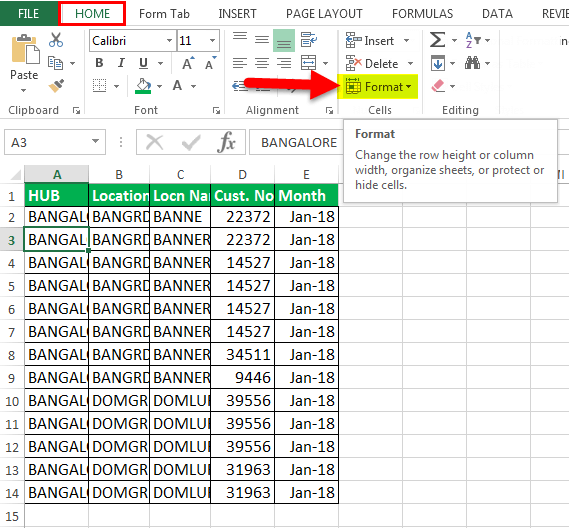
- After the selection of cell go to Home Menu and select the Format button as mentioned in the below screenshot.
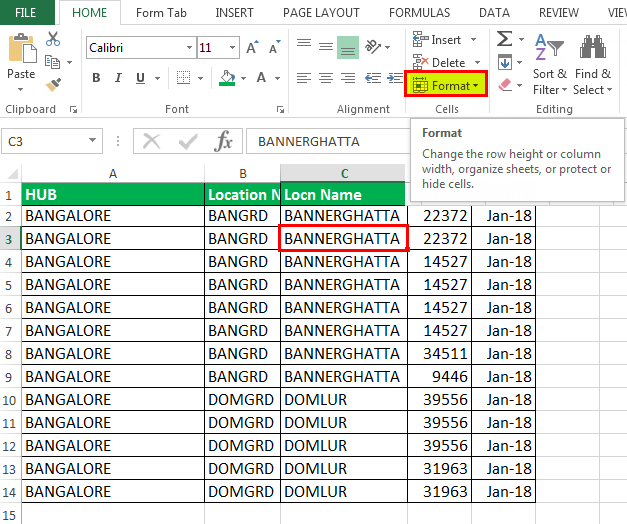
- After that select AutoFit Row height to complete the Autofit action on desired cells.
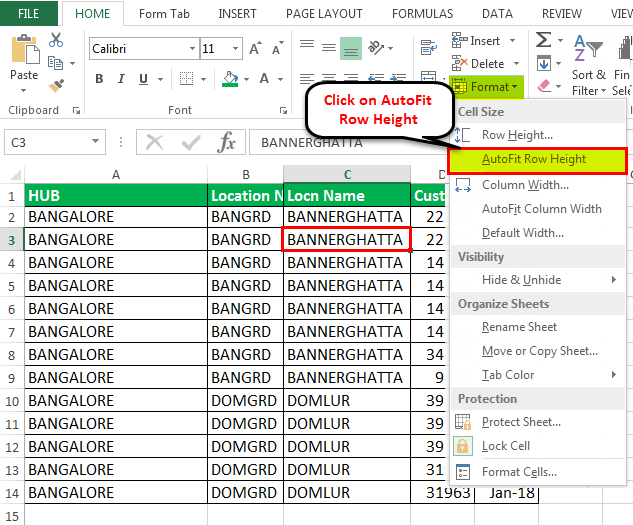
- After that Click/select on AutoFit Row height button, the selected cell of A Column will automatically extend the size of a cell.
Tips: The same can be performed with the use of the Wrap Text Button.
#5 – How to AutoFit Using WRAP TEXT Button?
Whenever we want to adjust/align the row height or text wrap in a cell should be click “wrap text” or else the height of a cell will be the height of the font of your text and If you have multiple rows or columns are highlighted whenever adjusting the width or height manually all other highlighted rows and columns will change with their width/ height to the same value or content.
Some of the text is entered in Column B but the cell size is limited as the regular size of a cell, Here we will do a wrap of text i.e., extend the words of a cell in the same cell with the same size of Column and extending it through Row Size.
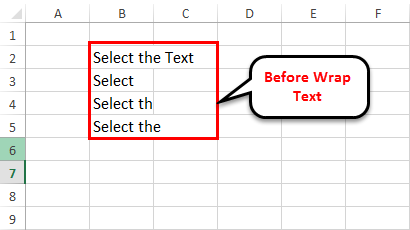
Using the Wrap Text Button we can make the visible of cell value (Text /Alphanumeric/numbers) by multiple lines in same cells.

Tips: For the next level of a higher range of working in Autofit can be done using VBA Coding where without a selection of any cells and this can be done for the entire worksheet.
Below codes can be used with just copy paste in the VB coding sheet.
Sub AutofitColumns()
Dim wrksht As Worksheet
For Each wrksht In Worksheets
wrksht.Select
Cells.EntireColumn.AutoFit
Next wrksht</strong
End Sub
#evba #etipfree #kingexcelDim wrksht As Worksheet
For Each wrksht In Worksheets
wrksht.Select
Cells.EntireColumn.AutoFit
Next wrksht</strong
End Sub
📤You download App EVBA.info installed directly on the latest phone here : https://www.evba.info/p/app-evbainfo-setting-for-your-phone.html?m=1


Leave a Comment